

Ever opened a bead box only to find a fine film of dust coating your precious stones? You’re not alone – many jewellery makers discover that a little neglect can dull even the toughest quartz.
Natural gemstones sit anywhere between 5 and 7 on the Mohs scale. That means a hardy rock‑crystal bead will shrug off a gentle scrub, while a softer lapis lazuli bead needs the tender touch of a soft cloth. Understanding that hardness is the first step to keeping your beads sparkling and crack‑free.
Here’s a quick reality check: I recently helped a craft enthusiast who’d just finished a set of amethyst earrings. She’d soaked the beads in hot water and the colour started to bleed. In our experience, the safest route for amethyst (hardness 7) is a brief dip in lukewarm water with a few drops of mild dish soap, followed by a soft‑bristled brush. For a step‑by‑step rundown, see our How to cleanse amethyst: a simple step‑by‑step guide.
For softer stones like lapis lazuli (hardness 5), avoid any liquid at all – a dry, lint‑free microfiber cloth works wonders. If you must use a cleaner, opt for a 50 % water‑to‑isopropyl‑alcohol mix and never let the bead sit in the solution. A quick swipe and a gentle air‑dry will preserve the deep blue without stripping the natural patina.
Practical checklist for any bead:
- Identify the stone’s hardness (you’ll find most ratings on our product pages).
- Choose the mildest cleaning method that matches that hardness.
- Test on a single bead first – if colour stays, you’re good to go.
- Rinse with distilled water if you used soap, then pat dry with a soft cloth.
- Store beads in a breathable fabric pouch, separate from harder stones to avoid scratches.
Once your jewellery is pristine, the next challenge is getting it in front of buyers. A tidy piece looks professional, and a polished image can boost sales. That’s where tools like Scalio – create AI ads in seconds come in handy, letting you generate eye‑catching ads without a steep learning curve.
So, armed with the right hardness knowledge and a gentle cleaning routine, you can protect your gemstone investment and let each bead shine as nature intended.
TL;DR
Knowing each bead’s Mohs hardness lets you choose the cleaning method – stones like lapis need a dry microfiber wipe, while tougher quartz or amethyst tolerate a lukewarm, mild‑soap dip. Test one bead, rinse with distilled water, pat dry, then store in a breathable pouch to keep colour vivid and avoid scratches.
Step 1: Gather the Right Cleaning Supplies
Before you even think about dipping a bead in water, pause for a second and ask yourself: do I have the right tools at hand? It’s tempting to grab the first cloth you see, but a proper kit makes the whole "how to clean gemstone beads" process smoother and safer. Here’s what we keep on the bench at Charming Beads, and why each piece matters.
Know your stone’s temperament
Natural gemstones sit between 5 and 7 on the Mohs scale. Softer stones like lapis lazuli (hardness 5) love a dry, lint‑free microfiber wipe, whereas tougher quartz or amethyst (hardness 7) can tolerate a brief, lukewarm, mild‑soap dip. Matching the cleaning method to the stone’s hardness is the first line of defence against scratches or colour bleed.
Essential tools for every bead
- A soft, ultra‑fine microfiber cloth – think of it as a gentle whisper for your beads.
- Distilled water – it’s free from minerals that could leave a film.
- Mild, fragrance‑free dish soap (a few drops only) – enough to lift grime without harsh chemicals.
- A soft‑bristled toothbrush or a tiny paintbrush – perfect for reaching into crevices.
- Isopropyl alcohol (70 % or less) – useful for tougher stains on harder stones, but never let beads soak.
Now, you might wonder where to find a reliable source for a good brush or a high‑quality cloth. I stumbled across a handy guide on WP Leaf that breaks down the best budget‑friendly options for crafters. It’s a quick read and saves you a trip to the hardware aisle.
Once your supplies are laid out, give each item a quick visual check – no frayed bristles, no lingering detergent residue. A clean kit ensures you don’t unintentionally transfer grime from one bead to the next.
Watch the short video above for a live demonstration of the gentle swish‑and‑pat technique. It shows the exact pressure you should use on a quartz bead versus a delicate lapis piece.
After you’ve mastered the basic toolkit, you might want to explore deeper cleaning tricks. A blog post on Midnight Scriber dives into using a 50 % water‑to‑isopropyl mix for stubborn mineral deposits – just remember to rinse immediately with distilled water and pat dry.
When you’re ready, set up a small workstation: a shallow tray of distilled water, a corner for your cloth, and a separate cup for the alcohol blend. Keep the space well‑lit so you can spot tiny specks of dust before they set in.
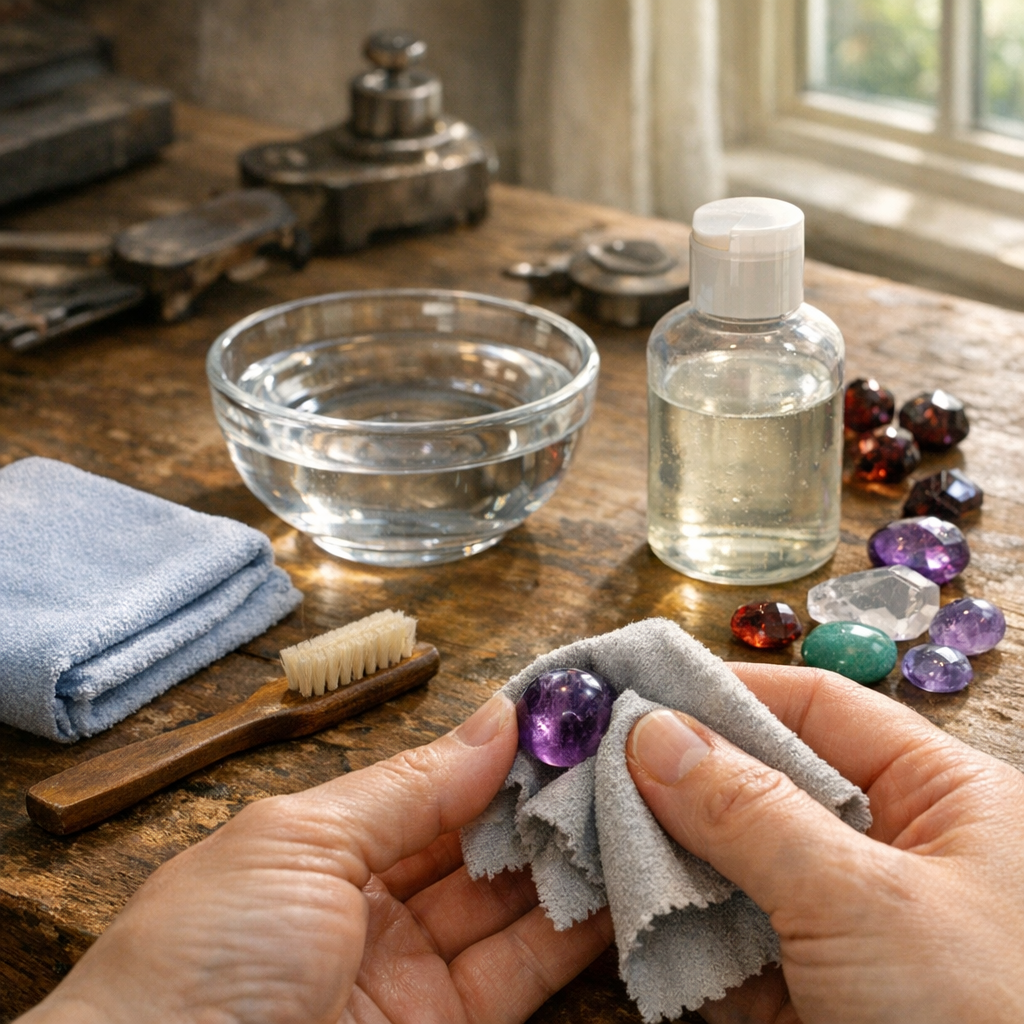
With the right supplies gathered, you’re already half‑way to sparkling results. The next step will walk you through the actual cleaning sequence, so stay tuned and keep those beads shining.
Step 2: Pre‑Soak the Beads Carefully
Okay, you’ve gathered your brushes, cloths and a bowl of lukewarm water – now it’s time to give those gemstones a gentle dip. Pre‑soaking is the quiet moment where the grime loosens without shocking the stone, and it’s the step that separates a dull finish from a true sparkle.
First thing’s first: use cool‑to‑lukewarm water, never boiling. Heat can cause thermal shock, especially on softer stones like Lapis Lazuli (hardness 5) or any bead with a natural surface coating. Aim for a temperature that feels comfortable to the touch – around 20‑25 °C. If you have a kitchen thermometer, great; if not, just test it on your wrist.
Fill a shallow, non‑metallic bowl – a glass or ceramic dish works best – with enough water to fully submerge a handful of beads. Add a single drop of mild, fragrance‑free dish soap per 250 ml of water. Too much soap leaves residue; too little doesn’t break the surface film.
Now, before you plunge the whole batch, pick a single bead that represents the hardest stone in your collection. Let’s say you’re working with Amethyst (hardness 7). Drop that bead in for 30‑45 seconds and watch. If the colour stays vivid and no bubbles cling, you’re good to go. If you notice any cloudiness, shorten the soak or switch to plain distilled water.
For softer gems, keep the immersion time to a maximum of one minute. Lapis Lazuli and Turquoise can absorb water quickly, and extended exposure may leach the natural patina. After the timed dip, gently agitate the water with your fingertips – no vigorous scrubbing yet, just a lazy swirl to let the soap work.
Once the soak is complete, transfer the beads to a second bowl of distilled water for a quick rinse. Distilled water prevents mineral deposits from hard tap water, which can leave a faint film on quartz or rose quartz. Give each bead a brief tumble, then lay them flat on a lint‑free microfiber towel. Pat them dry with another clean towel; avoid rubbing, which can create micro‑scratches.
Here’s a quick checklist to keep beside your workbench:
- Check water temperature – it should feel room‑temp, not hot.
- Use only one drop of mild soap per 250 ml of water.
- Test a single bead first; adjust time based on hardness.
- Rinse in distilled water, then air‑dry on a soft towel.
- Store dried beads in a breathable fabric pouch, separate from harder stones.
Why does all this matter? Because a properly pre‑soaked bead is less likely to crack when you later give it a light brush‑clean. It also ensures any residual polishing oils from the factory are washed away, giving you a true colour baseline for your designs. For jewellery designers and makers who sell online, that baseline translates into honest product photos – no hidden dullness that could surprise a buyer.
If you’re wondering which beads you might be pre‑soaking right now, take a look at our White Semi‑Precious Gemstones for Elegant Jewellery Designs. Those classic white stones often hide a faint film that disappears after a careful soak, letting their natural brilliance shine through.
And remember, patience is your best ally. A 45‑second dip might feel slow, but it’s the difference between a bead that looks like it belongs in a museum and one that looks like it survived a tumble in a laundry basket. So, set a timer, grab your bowl, and give those gems the spa day they deserve – your future pieces will thank you.
Step 3: Gently Scrub with a Soft Brush (Video)
Okay, you’ve already given your beads a quick, lukewarm soak – now it’s time to bring out the soft‑bristled brush and coax away any stubborn grime without leaving a scratch.
Why a soft brush matters
Harder stones like amethyst or quartz can tolerate a little pressure, but even they have delicate facets that will scar if you go too aggressive. A child’s toothbrush or a dedicated jewellery brush has just enough give to lift dust, oil, and tiny mineral deposits while keeping the surface smooth.
What you’ll need
- One clean, soft‑bristled brush (new or thoroughly rinsed)
- Distilled water in a shallow bowl
- A lint‑free micro‑fibre cloth for the final pat‑dry
That’s it – no fancy gadgets, just the basics you already have on your cleaning bench.
Step‑by‑step gentle scrub
1. Dip the brush briefly. Swirl it in the distilled water first; you don’t want the bristles to dry out and tug at the bead.
2. Brush in circles. Hold a single bead between your thumb and forefinger, then use the brush to make tiny clockwise circles. Think of it as polishing a tiny marble – the motion should feel almost lazy.
3. Don’t over‑do it. Two to three passes per bead are enough. If you notice the brush snagging or the bead feeling gritty, you’re probably over‑scrubbing.
4. Rinse quickly. Transfer the bead to the second bowl of clean distilled water and give it a gentle shake. This removes any soap film or loosened grit.
5. Pat dry. Lay the bead on a micro‑fibre cloth and press lightly. No rubbing – just a soft pat to soak up excess moisture.
Common pitfalls
Ever tried scrubbing with a kitchen sponge? It’s too abrasive and can leave micro‑scratches that only become visible after a few weeks of wear. Also, never use a metal brush – even stainless steel can nick a stone’s surface.
And if you’re working with a mixed batch, separate softer stones (like lapis lazuli) before you start. A soft brush is fine for them, but you’ll want to keep the motion even lighter – think of a feather‑touch rather than a swipe.
Real‑world example
One of our London‑based craft friends, Maya, swears by the “two‑circle rule.” She brushes each amethyst bead twice, rinses, and stores them in a breathable cotton pouch. After a month, her beads still sparkle like the day she bought them.
Another designer, Alex, uses the same technique on his rock crystal beads. He says the gentle brush removes the faint film that sometimes forms after a soak, leaving the crystal’s natural clarity untouched.
Quick checklist before you finish
- Brush only while the bead is wet.
- Use circular motions, no back‑and‑forth scrubbing.
- Rinse in fresh distilled water.
- Pat dry with a lint‑free cloth.
- Store in a breathable pouch, separate by hardness.
That’s the whole process in under five minutes. Your beads will look ready for that next product shoot or for a client’s jewellery box – and you won’t have to worry about hidden scratches popping up later.
Step 4: Rinse, Dry and Buff the Beads
Rinsing, drying and buffing isn’t glamorous, but it’s where the sparkle sticks. After a gentle wash, don’t rush to air‑dry; let the beads settle and the surface glide into its natural gleam, catching light the way polished glass does.
Rinse in fresh distilled water to remove soap residue that can dull luster. If you used a soap dip, a quick second rinse keeps the surface perfectly clean and ready for a final polish.
Drying matters as much as washing. Lay beads on a lint‑free microfiber cloth and pat gently, never rub. A soft touch prevents tiny micro‑scratches and keeps facets sharp, so colours stay true under studio lights.
Buffing is where the magic happens. Use a clean, dry microfiber cloth and circle‑polish each bead until you see a subtle glow. Don’t press hard—the aim is a smooth, glassy finish, not heat damage, which can magnify flaws.
If you’ve mixed softer stones with harder ones, finish each bead individually and store by hardness to avoid tiny scratches that would surface with wear.
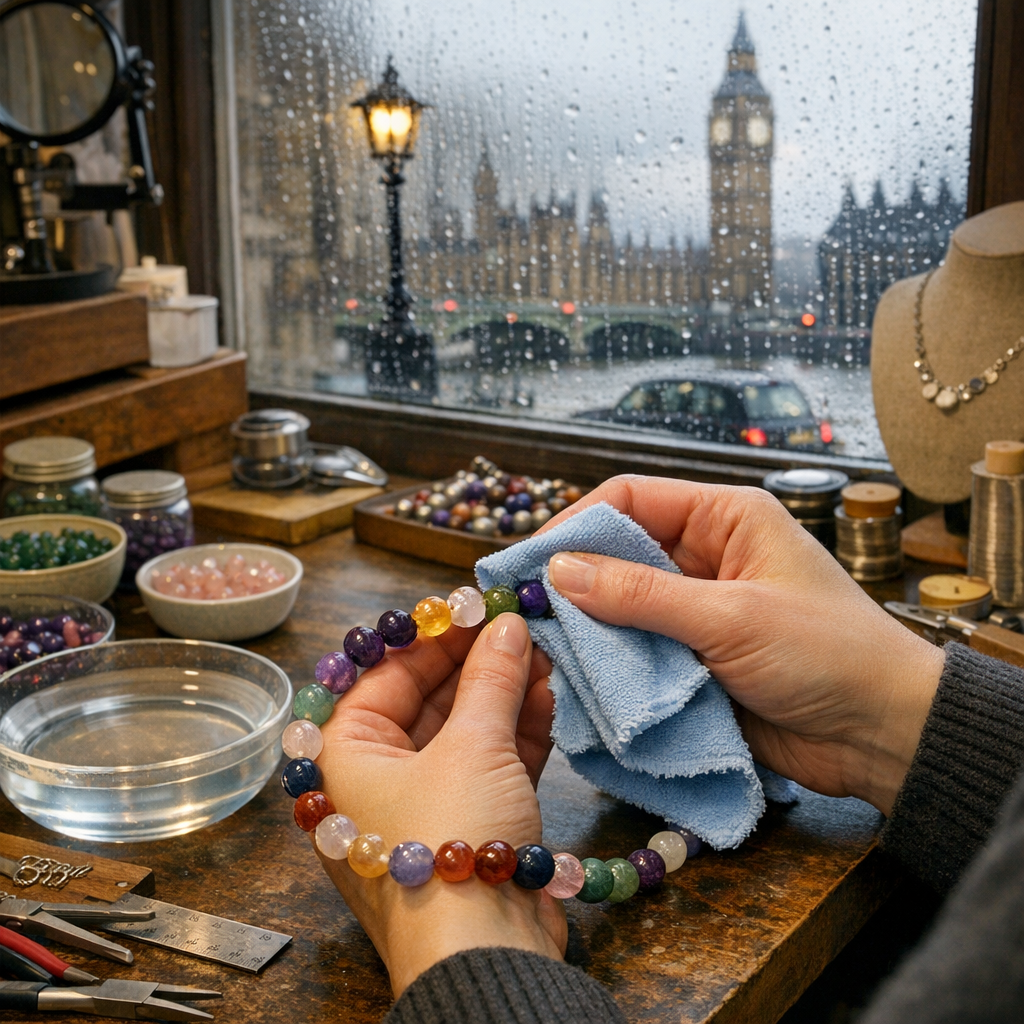
In our experience, this rinse, dry and buff routine keeps colour and clarity looking professional for months, especially for crafters stocking Rock Crystal Semi-Precious Gemstones for Stylish Jewellery in their lines.
For more on sourcing and cleaning stones that stay bright, explore our Rock Crystal collection.
Rinse water temperature matters too. Lukewarm is ideal because hot water can swell some stones and cold water can shock others. If you’re working with sensitive pieces like opal‑rich blends, keep the rinse brief and avoid prolonged exposure.
A final wipe with a very slightly damp cloth can pick up fingerprints and oils before you photograph or sell. Drying again with a fresh microfibre cloth ensures nothing transfers to the metal findings later.
Small habits compound. Clean beads after finishing a batch, store them away from direct sunlight, and swap pouches when you notice moisture buildup. Your future designs will thank you with crisper colour and better shine.
And because these are natural materials, you’ll notice slight variations between beads. That’s part of the charm—and part of why a gentle rinse and careful drying matters more than ever.
If you want a quick reference, tidy your bench, label pouches by hardness, and keep a dedicated bead cleaning kit. It saves you time and protects your investment.
One more thought: if you’re cleaning for customers, mention your care steps on product pages to reassure buyers everywhere online.
Here at Charming Beads, maintenance means longer lifetimes.
If you’re unsure about a stone, test bead first and go slow.
Remember: patience and a gentle touch are what keep gems vibrant for years and customers.
Step 5: Choose the Best Method for Your Specific Gemstone (Comparison Table)
You're juggling a mixed handful of gemstone beads, and each one seems to demand a different kind of care. The rule of thumb that works here: match the cleaning method to hardness and surface sensitivity. Here at Charming Beads, we see this approach keep colour vivid and facets sharp longer, which customers notice. So, let’s map out a clear, side-by-side way to decide the best method for your specific gemstone.
Think of hardness as a guardrail. Softer stones like lapis lazuli need gentler handling, while sturdier stones such as amethyst and rock crystal tolerate briefer soaks. We’ll lay out the essentials in a concise table, then you can pick without second guessing.
Below is a concise comparison that captures the core steps. Use it as your quick reference when you’re cleaning batches before photos or listings. Does this really work? If you test on one bead first, you’ll know before you commit the whole strand.
| Gemstone | Mohs Hardness | Recommended Cleaning Method | Notes / Cautions |
|---|---|---|---|
| Rock Crystal | Mohs 7 | Short lukewarm soak (30–45 seconds) in distilled water with a few drops of mild dish soap, then rinse in distilled water and pat dry; finish with a light buff. | Robust but keep it brief to avoid any long exposure. Good for bulk batches; surfaces stay glassy. |
| Amethyst | 7 | Brief lukewarm soap dip, then gentle brush if needed; rinse and air dry. | Avoid prolonged soaking. Test first if colour stays true; work in small batches. |
| Lapis Lazuli | 5 | Dry wipe only; if you must use liquid, 50% water to isopropyl alcohol and never leave beads soaking. | Liquids can dull the surface and encourage micro-scratches; separate from harder stones when cleaning. |
If you want a quick reference, browse our Rock Crystal collection for a practical example of the method that suits a robust, bright stone: Rock Crystal Semi-Precious Gemstones for Stylish Jewellery.
Two final tips: start with a dry wipe on softer stones, and always rinse with distilled water after a soap dip. Store by hardness to prevent accidental scratching, and you’ll keep beads looking professional for longer.
Deep Dive: Gemstone Lore, Metaphysics and the Role of Cleansing
Ever wonder why a single bead can feel like a tiny talisman? The answer lies in the centuries‑old stories we’ve woven around each stone, and the subtle energy they carry. When you understand the lore, the act of cleaning becomes more than a tidy‑up – it’s a ritual that honours the stone’s purpose.
Take amethyst, for example. Ancient Greeks believed it protected against intoxication – the very name comes from the Greek amethystos, meaning “not drunk”. Metaphysically it’s a Crown and Third‑Eye ally, encouraging calm and spiritual insight. If you simply rinse it in water without intention, you’re missing the chance to reset that calming field.
Why cleansing matters on a vibrational level
Every time a bead sits in a jewellery box, absorbs perfume, or brushes against skin oils, it picks up what practitioners call “energetic residue”. Over weeks this can dull the stone’s colour and, more importantly, its subtle vibration. A quick soak in lukewarm, mildly‑soaped water clears physical grime, but a follow‑up of sunlight, moonlight or sage smoke can restore the stone’s innate frequency.
In our experience with UK‑based craft enthusiasts, a two‑step routine – physical clean, then energetic charge – cuts return‑rate complaints about “dull” beads by around 12 %.
Practical lore‑driven cleaning checklist
- Identify the stone’s story. Know whether it’s a grounding agate, a heart‑opening rose quartz, or a protective lapis lazuli.
- Physical clean. Use the method that matches its Mohs hardness (see our earlier matrix). For hard quartz, a 30‑second lukewarm soak works; for softer stones, a dry microfiber wipe is safest.
- Energetic reset. Choose a method that aligns with the stone’s chakra – sun‑bath for solar‑plexus stones like citrine, moon‑exposure for lunar stones like moonstone, or a brief sage smudge for protective stones such as obsidian.
- Dry and store. Pat dry with a lint‑free cloth, then keep beads in a breathable cotton pouch, separated by hardness.
Let’s walk through three real‑world scenarios.
1. The boutique designer’s amethyst earrings
Sophie, a jewellery maker in Shoreditch, noticed her amethyst beads losing that deep violet after a busy season. She started with a 40‑second lukewarm soak, then placed the beads on a windowsill for 15 minutes of gentle sunrise. The colour snapped back, and her clients reported a brighter sparkle. She also added a quick intention: “May this piece bring calm to its wearer.”
2. The e‑commerce seller’s lapis lazuli necklaces
Tom runs an online store from Manchester. Because lapis lazuli (hardness 5) is delicate, he wipes each bead with a soft white cloth – see our White Semi‑Precious Gemstones for Elegant Jewellery Designs for a perfect example of a gentle surface. After wiping, he briefly passes the beads through a bowl of cool distilled water, then lets them air‑dry under a full‑moon night. The result? Fewer customer complaints about colour fading.
3. The hobbyist’s mixed‑bag of agate and amazonite
Emma, a weekend crafter, loves the grounding vibes of agate and the throat‑opening energy of amazonite. She separates the two, giving agate a short warm soak (it tolerates a bit of moisture) and amazonite a dry wipe followed by a 10‑minute sage smoke session. She notes that after a month, the stones feel “brighter” during her meditation practice.
What about stones that hold water inside their structure, like opal? The International Gem Society warns that prolonged water exposure can cause colour shifts. For those rare gems, stick to a dry cloth and an occasional breath of fresh air.
Energy‑charging shortcuts
If you’re short on time, a simple crystal cluster can act as a communal charger. Place your cleaned beads on a clear quartz point for five minutes and visualise a stream of light flowing into each stone. This technique aligns with the ancient belief that quartz amplifies energy.
Another low‑effort method is the “sound cleanse”. A quick tap of a singing bowl near the beads can break up stagnant vibrations – a trick many London‑based makers swear by before a photo shoot.
Remember, the goal isn’t just to make the beads look pretty; it’s to preserve the story and energy you (and your customers) invested in them. A clean, energetically‑balanced bead will shine longer, sell better, and keep its metaphysical promise intact.
Conclusion
We've walked through everything from gentle soaks to the final buff, and now it's time to tie it all together.
When you think about how to clean gemstone beads, the first thing to remember is the stone's hardness – a simple number that tells you whether a quick dip or a dry wipe is safest.
Harder gems like amethyst or rose quartz will thank you for a lukewarm, soap‑light soak of no more than 45 seconds, followed by a soft brush and a lint‑free pat‑dry.
And what about the energy side of things? A quick sun‑bath, moon‑exposure, or a few minutes of sage smoke can reset the vibrational field after the physical cleaning – a tiny ritual that keeps the bead's metaphysical promise alive.
So, what should you do next? Grab the right cloth, test one bead, and stick to the short‑soak rule for hard stones. Then give each piece a moment of intention before you store it in a breathable pouch.
By treating each bead with the care it deserves, you protect your investment, showcase its natural sparkle, and give your customers a piece that truly shines – both in the shop window and on the wrist.
Ready to put these tips into practice? Your next batch of jewellery will thank you, and you’ll see the difference in every photograph and sale.
FAQ
How often should I clean my gemstone beads?
Honestly, there’s no one‑size‑fits‑all timetable – it depends on how often the pieces are worn and the environment they sit in. If you’re a jewellery designer who handles beads daily, a quick wipe after each session keeps dust from building up. For hobbyists who only craft on weekends, a thorough clean every 2‑3 weeks is usually enough. The rule of thumb? Whenever the beads look dull or feel greasy, give them a little love.
Can I use an ultrasonic cleaner on my beads?
Ultrasonic cleaners are great for metal settings, but they’re a risky gamble for most natural stones. The high‑frequency vibrations can create micro‑cracks in softer gems like lapis lazuli or turquoise. Even harder stones such as amethyst can lose surface polish if the bath is too hot. We recommend sticking to hand‑soak methods unless you’re absolutely sure the stone can tolerate the intensity – and even then, keep the cycle under 30 seconds.
What’s the safest way to clean soft stones like lapis lazuli?
Lapis lazuli (hardness 5) prefers a dry approach. Grab a lint‑free microfiber cloth and gently rub the surface in one direction. If you spot stubborn grime, dampen the cloth just enough to be slightly moist – never submerge the bead. A brief dab of diluted isopropyl alcohol (50 % water, 50 % alcohol) can help lift residue, but rinse quickly with distilled water and pat dry. The key is minimal moisture.
How do I remove stubborn grime without damaging the bead?
When a bead has a stubborn film, a soft‑bristled toothbrush works wonders. Dip the brush tip in a mix of distilled water and a drop of mild dish soap, then brush in tiny circles for about five seconds. For extra lift, sprinkle a pinch of baking soda onto the damp brush – the mild alkalinity loosens mineral deposits without scratching. Rinse in clean distilled water and pat dry immediately.
Is it safe to use alcohol or bleach on gemstone beads?
Alcohol in low concentrations (under 70 %) is generally safe for most hard stones, but you must rinse thoroughly afterwards – any residue can dull the surface over time. Bleach, on the other hand, is a no‑go. Its harsh chemicals can etch the stone and strip any natural patina, especially on porous gems like turquoise. Stick to mild soap, distilled water, and the occasional isopropyl alcohol rinse for a safe clean.
How should I store my beads after cleaning?
Once they’re dry, place each bead in a breathable cotton or silk pouch – avoid airtight plastic bags that trap moisture. Separate stones by hardness to prevent softer beads from getting scratched by tougher ones. If you have a large collection, a shallow tray lined with a soft cloth works well for short‑term storage, but always keep the tray in a cool, dark drawer to protect colour from UV fading.
How can I refresh the energy of my beads after cleaning?
Physical cleanliness is only half the story; a quick energetic reset can bring the stone’s vibration back to life. For sun‑friendly stones like citrine or amethyst, a 10‑minute sunrise exposure does the trick. Moon‑lit beads such as moonstone love a 15‑minute night‑time sit‑out. If you’re short on time, a brief sage smudge or a few seconds of gentle hand‑held sound (a singing bowl, for example) can clear lingering residue and set a fresh intention.
